Wood fences and decks require a lot of maintenance. But not many are aware of what is involved to successfully restore them back to their original condition.
In this article, we’ll learn the steps for restoring wood deck and fence surfaces by painting or staining.
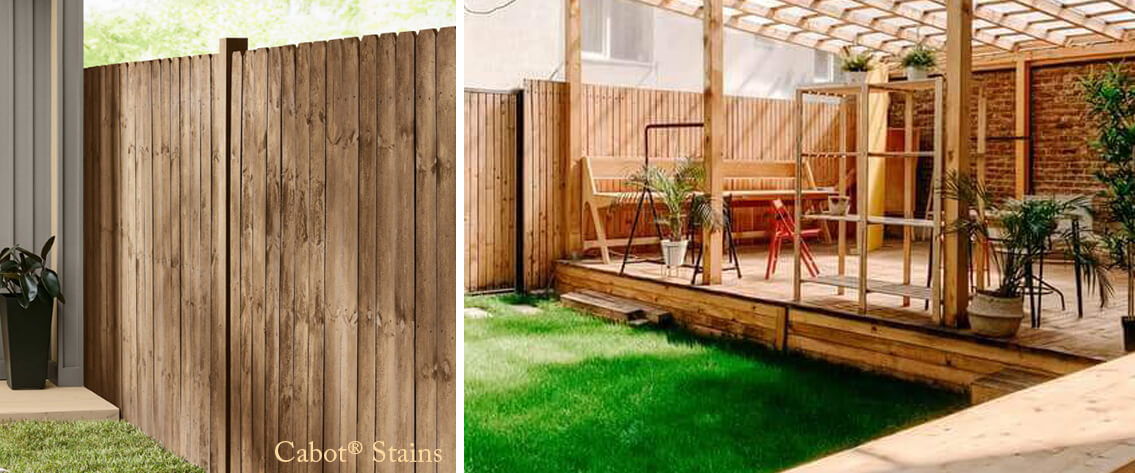
Here we will help you understand the best ways to improve the appearance of wood fencing and decking.
Cabot® Semi-Transparent
Step 1. Prepare and Clean the Deck or Fence Before Starting the Job.
Cleaning not only means sweeping and removing unwanted dirt and debris. It also means clearing and removing organic growth like mildew and molds. This is a necessary step before sanding and preparing for your coating.
Perform these steps to get the refinishing results you want.
Before you begin your project, remember to shut off power to any outlets or accessories connected to your home’s exterior walls. This is to reduce the risk of electric shocks when cleaning and stripping are taking place.
- First, remove any furniture, plants, or other items that will get in the way during wood deck and fence repairs.
- Examine the fence or deck for holes, splinters, damaged wood, and dry rot.
This is the time to secure loose boards, repair splinters and replace damaged
and rotting wood. - Using a putty knife, clean and remove any build-up between the boards.
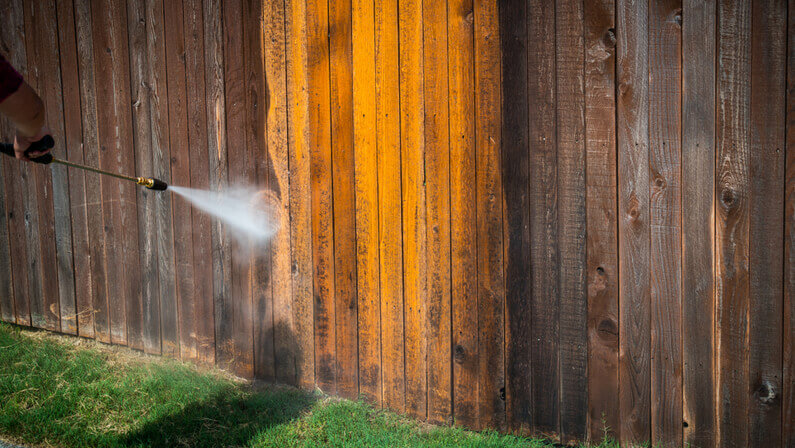
- Apply deck cleaner. Depending on the instructions, you can use a garden hose, brush, or pressure washer. You’ll get better results with the pressure washer.
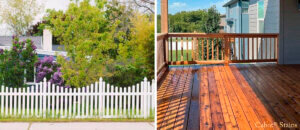
Will you paint or stain? Determine the condition of the existing surface.
Paint or Solid Stain?
– If deck is already a solid color stain or paint – sand as needed and continue to recoat.
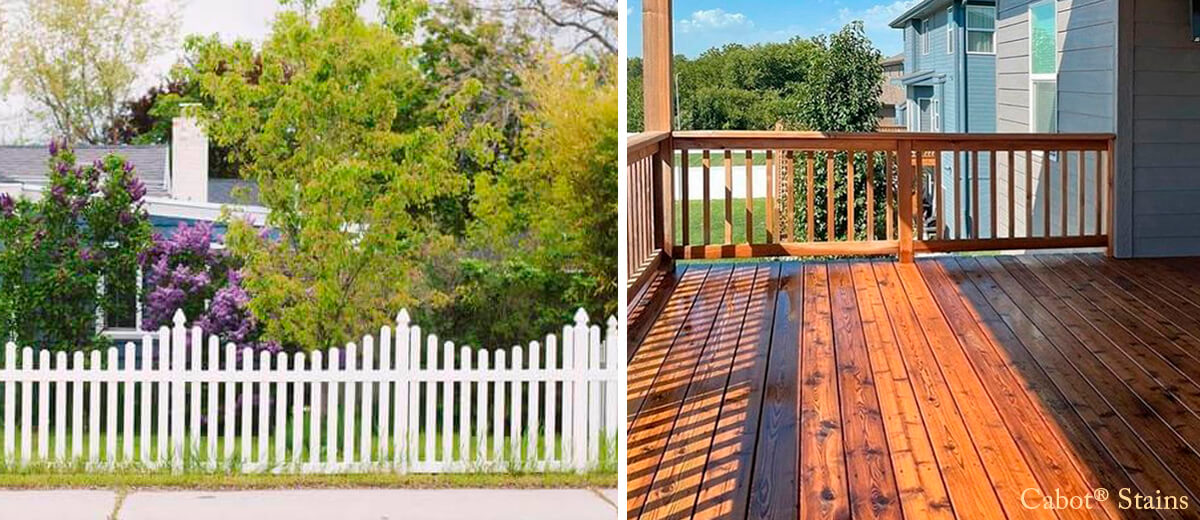
Stain that is Transparent, Semi-transparent or Semi-solid.
– You can use a wood brightener (may require additional power washing) after cleaning
which may bring your wood closer to its original look.
– Then sand as needed and apply 1-2 coats of stain, which can give you the transparency and results you’re looking for.
Follow instructions for best drying times.
Step 2. Check this list of the tools and materials you may need.
- Paint remover or stripper.
- Putty knife
- Wood putty or epoxy filler
- Orbital sander with a good supply of sanding disks (60-80 grit)
- Paint brushes, of different widths for trim and broad application (4” brush is preferred for back brushing)
- Paint rolling trays, rollers or stain applicator and pads and extension pole.
- Drop cloths and rags for clean-up. Caution: When finished with oil-based stain, place oil-soaked rags in bucket with water to avoid spontaneous combustion.
- Knee pads and gloves, latex or regular
- Wood deck and fence refinishing supplies such as Hammer, drill & bits, fasteners, tape measure, carpenters square
Step 3. Will the wood absorb the stain?
If you are unsure, use this simple Water Absorption Test before you begin.
This will tell you if the stain can penetrate the wood.
- Get a cup of water and pour it onto part of the wood surface.
- Let it for 10 minutes and observe.
- If the water beads up, this means there is remaining stain, or residue in the wood that is blocking the absorption. It can be remaining stain. If this is the case, you may need to sand it again to avoid an uneven finish.
- If the water darkens the wood, then it is ready to absorb stain.
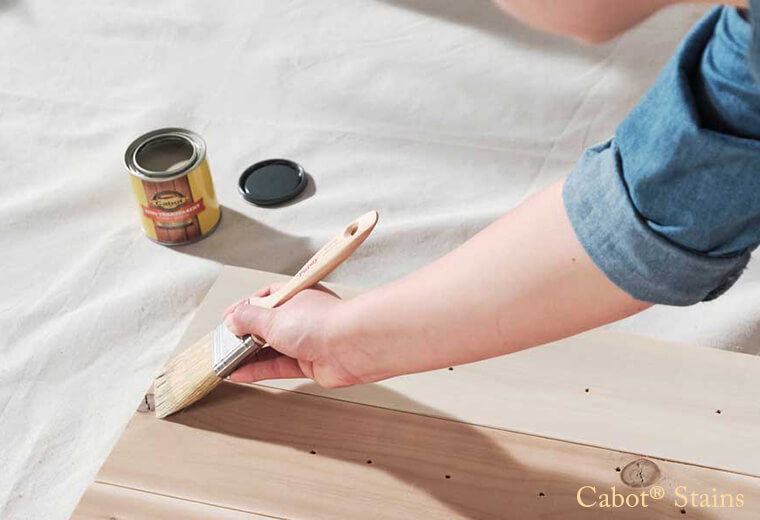
Step 4. Maintain a “Wet Edge” when brushing or rolling to prevent lap marks.
What size brushes and rollers are needed?
Stain can be applied by spray, roller, or applicator pad and then back brushed after application for proper finish.
– When rolling, use a ½ to ¾ nap standard 9” roller for larger areas and the smaller 4” roller for and smaller areas where needed.
– Use brushes at least 4” wide for large flat surfaces
Use 2” for smaller tight areas
– When rolling, apply in straight, slow and smooth motion in the direction of the
grain. Only apply stain on 2 or 3 planks at a time and finish the full length, keeping a wet edge.
– Do not stain or paint the wood in direct sunlight, because this can make coatings dry more
quickly and creating “Lap Marks”. Start earlier in the morning just after the dew disappears and
wood is dry to the touch.
What is a Lap Mark?
Lap marks are overlapping brush or roller marks that appear if you stop in the middle of the plank, and then do not begin again to finish for an amount of time. Then when you continue again, the previous paint/stain is already dry and the new overlapping coat will look more obvious and more saturated.
It is important to maintain a “Wet Edge” or employ the wet-on-wet technique.
To do this, you can run the wet brush onto the unpainted area first and then brush back over the dried edge a few inches to blend and produce a more uniform appearance.
These helpful videos will give you great insight for finishing your project
https://www.youtube.com/watch?v=vrx6-j4GAFI
https://www.youtube.com/watch?v=zCijq4G1B3Q
https://www.youtube.com/watch?v=c4Ep055aSVg&t=6s
Step 5. Get the professionals at El Gato to do the job, if you are unsure how to do it yourself.
We offer you a wide range of options for restoring your deck or fence, depending on the level of damage your wood surface is experiencing.
When hiring El Gato for wood deck and fence refinishing, rest assured that we’ve got the experience and past projects to complete your project on time and within our estimated budget.
No surprises.
We’ll provide you with a quote for your project, make sure that the cost includes all the materials needed, as well as any labor required.
We are also well insured in case any accidents happen during work on your property.
Please visit our Certification pages:
– Google Page for our long list of 5 Star Ratings.
– El Gato Painting Services From our website here
– Reviews for the company Customer testimonials from our website here
This will give you the peace of mind that you have hired trustworthy and reliable professionals.
Got deck and fence to restore?
Contact El Gato Painting Services today and get a free quotation!

Scan or Click the Cat QR code to
print our El Gato Difference Info.


Comments are closed.