Stucco is a popular exterior finish for homes, because it is durable, lasts a long time and has aesthetic appeal. It is a cement-based textured coating applied to the exterior wall of a building.
Yet, over time, stucco may develop cracks or other damages that require repair.
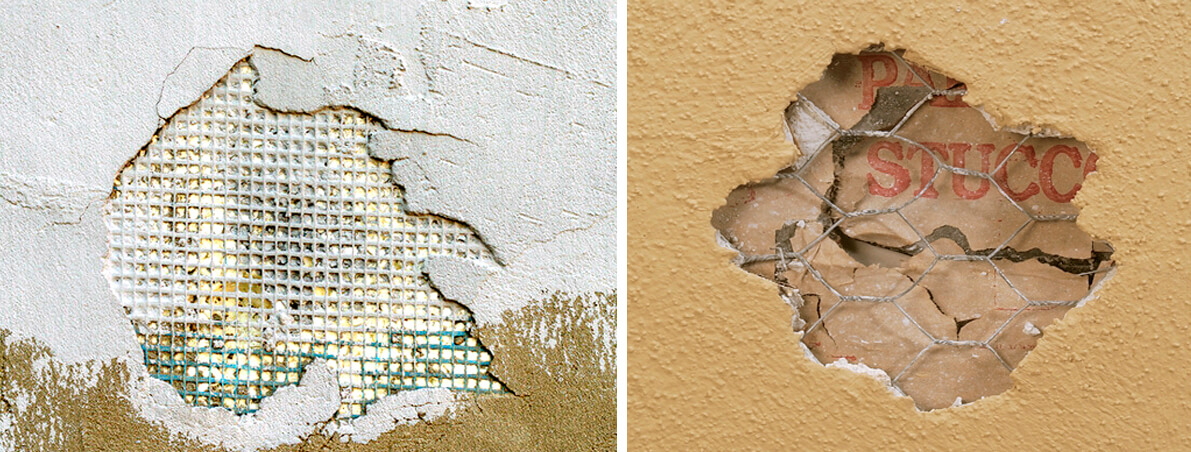
These cracks can vary in size from hairline, to larger cracks from ground movement, which can originate from the corners of doors and windows, or larger patches falling off and exposing the wire lath behind the stucco.
In this guide, we’ll walk you through the steps of simple and medium stucco repair on your home.
BELOW: You can visit these helpful links by other professional brands to further your knowledge base before you start.
Inspect the stucco for any cracks, chips, or other damage. Note the size and extent of the damage to determine the appropriate repair method.
Also keep in mind that some stucco problems may be structural and may need further and deeper repair from a licensed contractor.
In this guide, we’ll walk you through the steps of simple and medium stucco repair on your home.
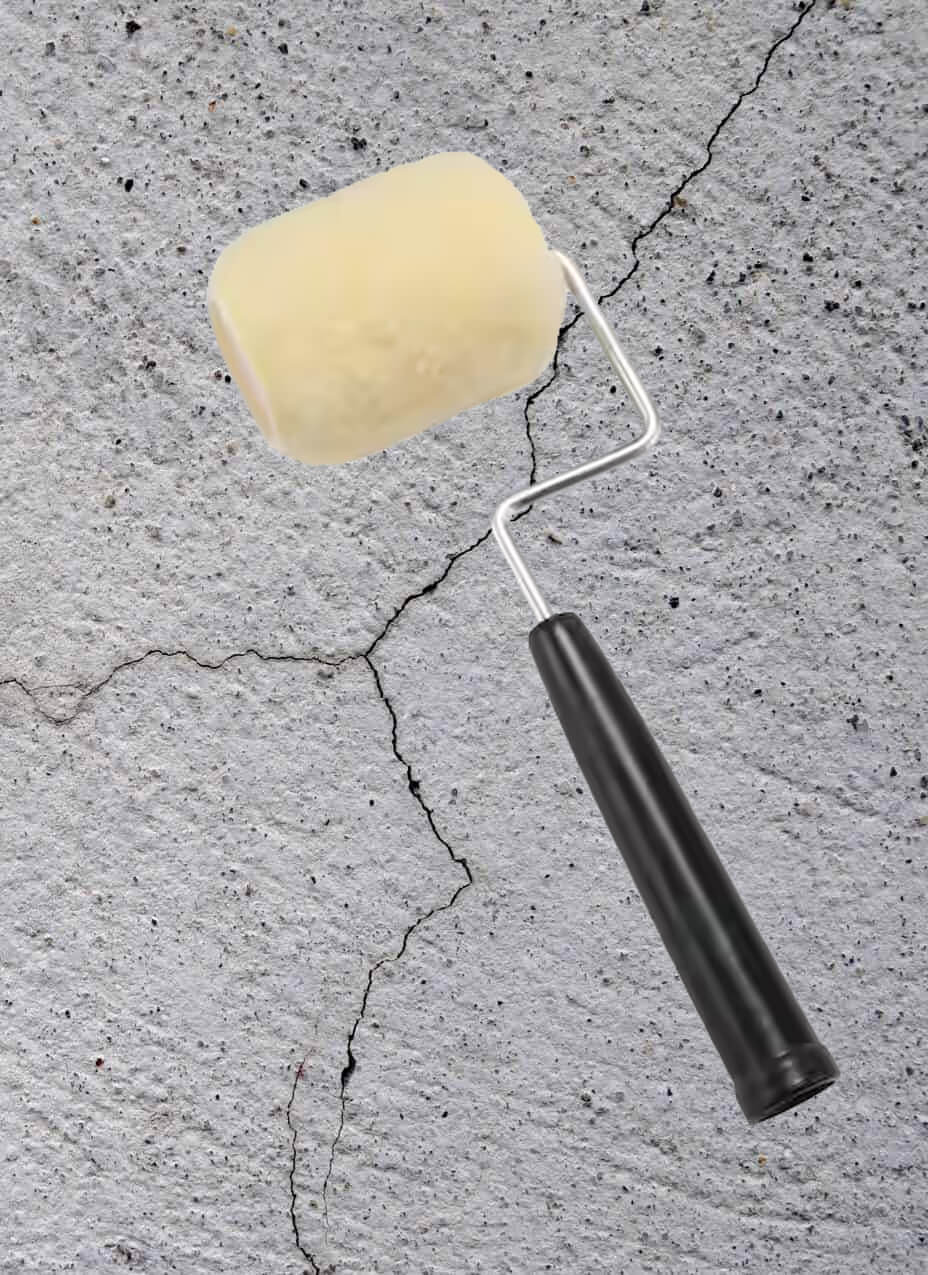
For small hairline cracks: OR slightly larger cracks (approx 1/32 of an inch)
Clean well, then just roll primer coats into the crack until it fills, allow to dry and then paint.
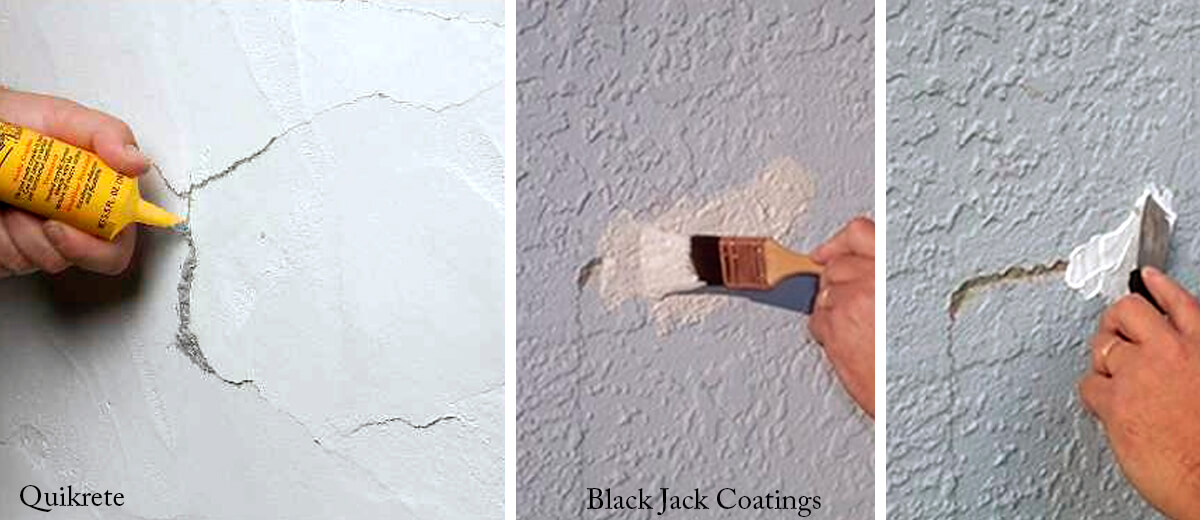
For slightly larger cracks requiring stucco patch:
Materials & Tools you may need:
– Stucco tube or tub – Primer – Painters 5 in one tool
– Paint – Old paint brush – Safety glasses
– Sandpaper – Spray bottle – Caulking gun
– Sponge – Drop cloth / Plastic sheeting (to cover adjacent surfaces)
Steps for your repair:
Helpful Reference Links
Quikrete Stucco Repair
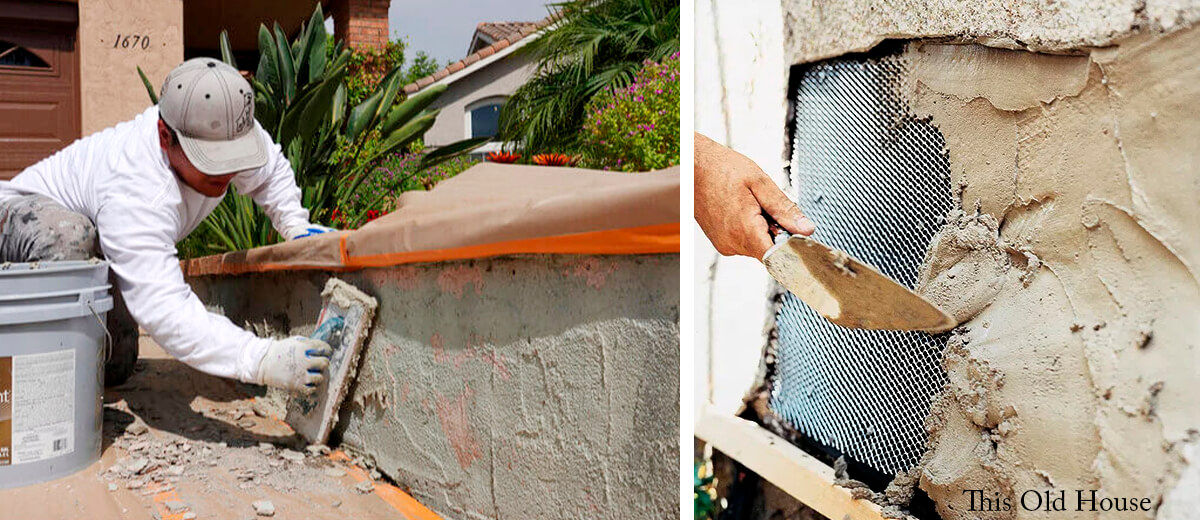
Areas where stucco has cracked and fallen out exposing mesh and lath
Materials & Tools you may need:
– Stucco tub or ingredients – Primer – Painters 5 in one tool
-Trowel or rubber float – Putty knife -Bucket
– Paint – Wire brush – Bristle brush – Utility knife
– Sandpaper – Spray bottle – Hammer – Safety glasses
– Caulking gun – Sandpaper – Safety glasses – Chisel
– Sponge – Drop cloth / Plastic sheeting (to cover adjacent surfaces)
Helpful Reference Links
Quikrete Stucco Repair
Steps for your repair:
Be sure to follow the manufacturer’s directions on the label, mix the appropriate ratio of stucco patch and water in an empty plastic 5-gallon container.
This may be a bit overwhelming for a beginner or DIY. Not only are major repairs time consuming, they may also require additional major repairs like wire lath work, wood work, framing and sheeting. This may be the time you call in a licensed contractor or professional who does this every day.
Materials & Tools you may need:
– Stucco mix – Bonding agent – Wire mesh – Sponge
– Water – Primer – Paint – Putty knife – Bucket
– Chisel – Hammer – Wire brush – Caulking gun
– Utility knife – Wire brush – Safety glasses – Sandpaper
– 5 gallon bucket – Spray bottle – Hammer – Caulking gun
-Trowel or rubber float – Painters 5 in one tool
– Drop cloth / Plastic sheeting (to cover adjacent surfaces)
There are three layers within stucco: The three coats consist of two base coats and one finish coat.
– The first base coat is called a scratch coat.
The purpose of the first base coat, the scratch coat, is to embed the metal lath and provide a base for the brown coat. The scratch coat gets its name from the fact that it is physically scratched with horizontal marks. These scratches create a key; for the next coat to grab onto and a shelf for moisture to aid in curing of the brown coat.
– The second is called a brown coat.
In two coat work, there is a single base coat and a finish coat.
The brown coat covers the first base coat and creates a plane surface, leading to the best possible results for the finish coat.
– The third coat is called the finish coat.
The finish coat is the thinnest of the coats, and its purpose is to impart a decorative
surface to the plaster
Helpful Reference Links Questions? Here’s a few great resources
Quikrete Stucco Repair
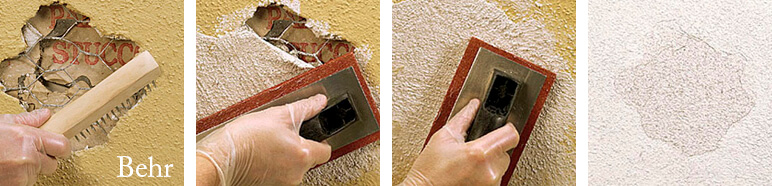
Steps for your repair:
Just like patching shallow cracks and holes in stucco, you have to clean and remove the damaged area.
Depending on your project size: Mix your stucco, following the manufacturer’s directions on the label, mix the appropriate ratio of stucco patch and water in an empty plastic 5-gallon container. Or open your 5 gallon bucket of premixed to begin.
You can use the stucco mixture for up to 90 minutes before it hardens and becomes unusable.
Helpful Reference Links
Quikrete Stucco Repair
Stucco repair can be time-consuming and may require too much effort. If it’s too much work or if you’re just starting to learn how to do stucco repair, you can seek the help of professionals.
Topics we will discuss with you before you hire us.
Please visit our Certification pages:
– Google Page for our long list of 5 Star Ratings.
– El Gato Painting Services From our website here
– Reviews for the company Customer testimonials from our website here
This will give you the peace of mind that you have hired trustworthy and reliable professionals.
Contact El Gato Painting Services today and get a free quotation!
Click on Cat to PRINT
The El Gato Difference brochure
Yes, or No? Things to consider beforehand. While painting can transform almost any home interior…
In this article, you will begin your project after the sheetrock is finished. Although you…
Giving your cabinet exteriors a face-lift. Applying a clear coat of varnish to kitchen cabinets…
Your kitchen cabinets say a lot about the personality of your home and your taste…
Welcome Home - Is What Your Front Door Says The threshold to your home and…
Termites are one of the pests that are hard to eliminate. And most of the…
This website uses cookies.