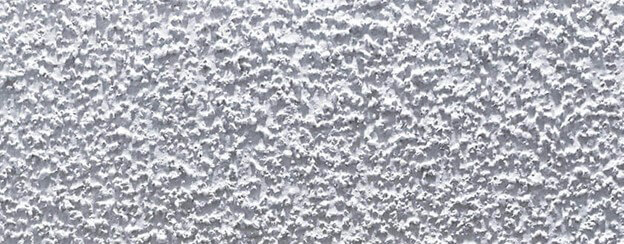
Popcorn ceiling is a layer of bumpy particles of vermiculite or polystyrene, which gives the ceiling sound-deadening properties and gives it the popcorn look.
Here we will identify what is a popcorn ceiling texture? And how to remove it safely.
Outdated and a thing of the past
Back in the 60’s, 70’s and 80’s, it was a known technique to hide imperfections on ceilings and reduce noise.
Nowadays it is considered a thing of the past and has fallen out of favor with contractors and homeowners for esthetic and health concerns.
This is why you may decide to remove your popcorn ceiling and adopt the new way of texturing and improving your ceilings.
Reasons why you would remove your popcorn ceiling
- It could affect your health. . During the ‘50s – ’80s, most popcorn ceilings contained asbestos, a harmful material composed of fibrous crystals. When abrasion begins, the asbestos fibers released into the air pose a health risk for anyone exposed in the room.
That’s why industry professionals advise homeowners to have their popcorn ceilings checked first for asbestos, before proceeding with popcorn texture removal. - It peels off over time.
Popcorn texture tends to fall off over time, creating an unappealing look, that’s why popcorn ceiling removal is highly recommended. - It disrupts lighting in the room.
The small craters on the popcorn ceiling creates small shadows that will make the room gloomy. Removing the popcorn ceiling will improve the room’s lighting, making it a much brighter place.
How to remove a popcorn texture from your ceiling
Here are some tips on how to remove popcorn texture, so you can get on with your painting as soon as possible.
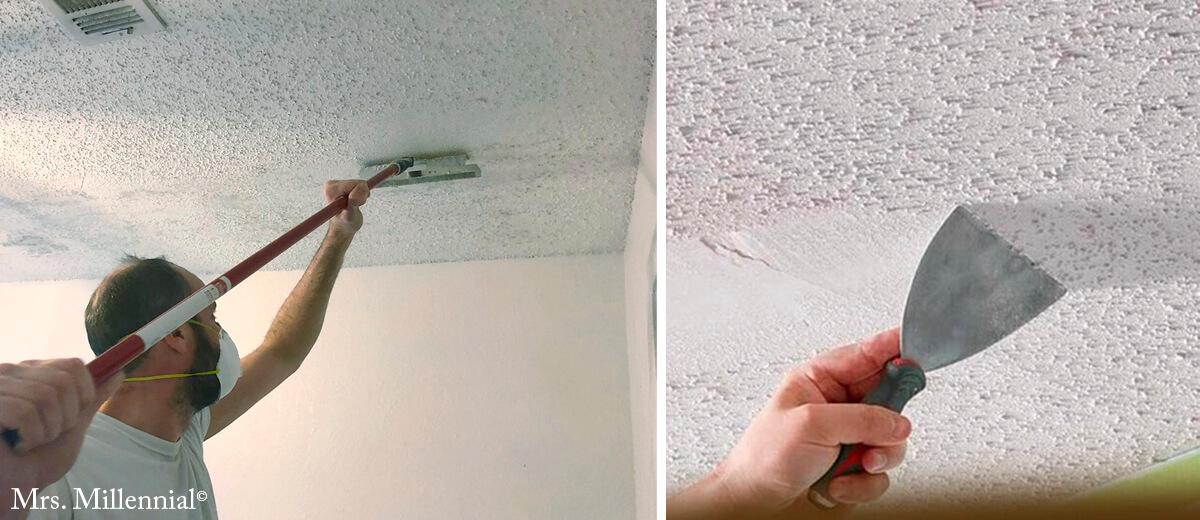
There are a few ways to remove a popcorn ceiling. You can use an adhesive remover, a popcorn removal kit from your local hardware store, or a spray bottle with water.
Run a test a week or so ahead of time to know if the popcorn ceiling contains asbestos. You can take it to a local lab, purchase a testing kit online, or at your local hardware store. If it does, you may want someone who’s more qualified to safely remove it
Follow these easy steps on how to remove popcorn texture
- Wear gloves and a long-sleeved shirt to protect your hands and skin.
- Use the adhesive remover and a trowel or scraper to remove the popcorn texture.
Try not to gouge or damage the ceiling when removing. - Once the popcorn is removed, you will want to skim coat with a thin layer of joint compound to fill in imperfections, gouges and uneven tape joints. Mix joint compound with water to create a slurry that is just thick enough not to drip.
- Here is where you can either leave it smooth, or determine which texture will be best for your look, such as knockdown texture or skip trowel.
Here are a couple Pro Tips to help you avoid mistakes when removing popcorn texture
- Watch videos online to get a better idea about popcorn ceiling removal.
- Wear the proper safety equipment like masks and paint suits. These will help protect your skin from harsh chemicals of adhesive removers.
- Isolate the rooms you are working in. Seal off walls and floors with painters plastic film, to prevent the dust and particles from getting into adjoining rooms. When finished you can easily fold up to dispose of waste.
- Keep family members and pets away from the area, as the harmful substances in popcorn texture are health hazards.
- Be sure to dispose of waste properly.
- Consider hiring professionals for popcorn ceiling removal, as it will save you time and money compared to doing it yourself.
Reach out to us at and learn more about popcorn ceilings. Call now for other types of painting services.
El Gato Painting has the knowledge, track record and reputation to do your project right. The first time.Topics we will discuss with you before you hire us.
- We’ll furnish you our complete list of satisfied customers.
- Verify we are licensed and insured.
- Agree with you in writing on price and responsibilities.
- Be sure you get our best warranty for the work.
- Make sure we use high-quality materials and paints.
- We’ll carefully go over our 21 steps of preparation and application.
- Welcome your questions and concerns.
- Look forward to your final inspection of our crew’s excellent work.
Please visit our Certification pages:
– Google Page for our long list of 5 Star Ratings.
– El Gato Painting Services From our website here
– Reviews for the company Customer testimonials from our website hereThis will give you the peace of mind that you have hired trustworthy and reliable professionals.
Contact El Gato Painting Services today and get a free quotation!

Scan or Click on Cat QR to PRINT
The El Gato Difference brochure


Comments are closed.